
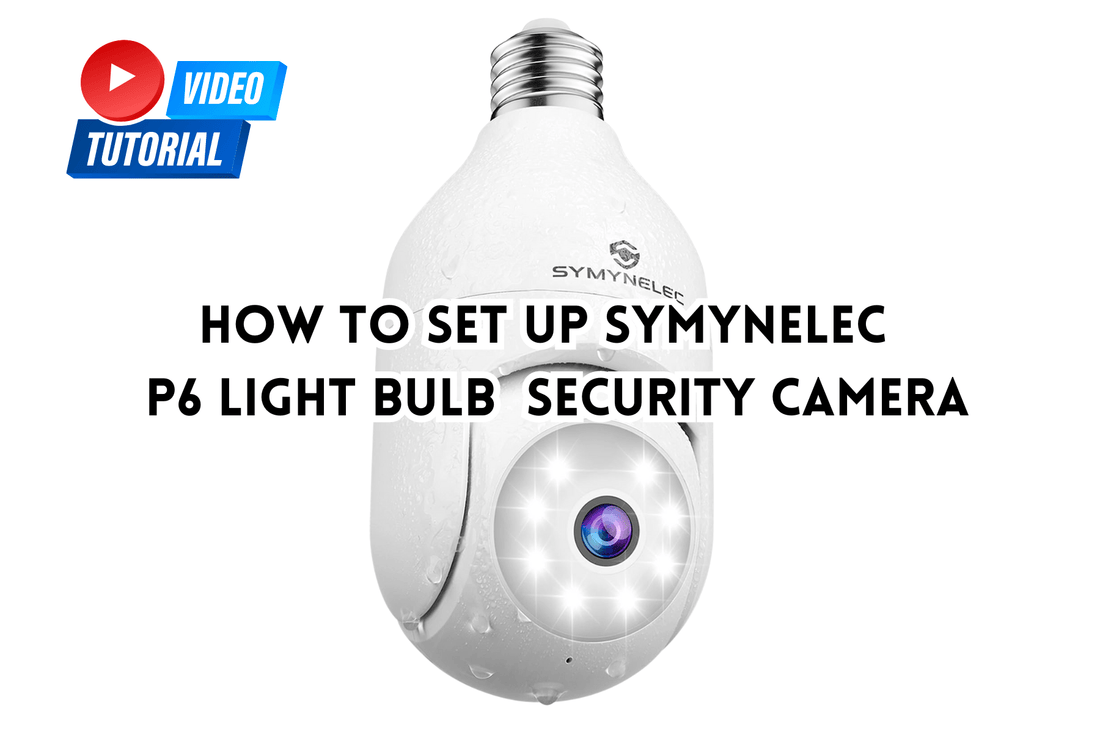
P6 Light Bulb Security Camera Manual
Connecting your light bulb security camera like the Symynelec P6 to a 2.4GHz Wi-Fi network is essential for reliable home security. In this guide, we’ll walk you through the setup process to ensure your light socket security camera is properly connected and ready for monitoring.
Step 1: Download and Install the Symynelec App
First, download the Symynelec app on your smartphone. After installation, complete the registration by selecting your country and entering your email address. You'll receive a verification code—enter it to finalize your account setup. The app is crucial for managing your light bulb security camera.
Step 2: Ensure Your Phone is on a 2.4GHz Wi-Fi Network
Before you begin pairing, make sure your phone is connected to a 2.4GHz Wi-Fi network. The Symynelec P6, like many wireless security cameras, only supports 2.4GHz, so avoid using a 5GHz network.
Step 3: Install the Light Bulb Security Camera
Turn off the light socket switch before installing the camera. Screw the camera into the light socket or use the included base. Then turn the switch back on. The camera will begin beeping every 15 seconds, which signals it’s ready for pairing. If the camera isn’t beeping, press and hold the reset button for 8 seconds to reset it.
Step 4: Generate a QR Code for Wi-Fi Setup
Once the camera is ready, enter your 2.4GHz Wi-Fi password in the Symynelec app to generate a QR code. This code will contain the Wi-Fi information your light bulb camera needs to connect.
Step 5: Scan the QR Code with the Camera
Position your phone about 8 to 12 inches from the camera lens and allow the camera to scan the QR code. When it successfully reads the code, you’ll hear a voice prompt. If scanning fails, adjust your phone’s position or tilt the screen to avoid light reflections or high-contrast backgrounds.
Step 6: Pairing
After you hear the voice prompt, tap the “I heard a prompt” button in the app. The light socket security camera will now pair with your Wi-Fi network. Once the pairing is complete, your Symynelec P6 wireless security camera is ready for use.
Troubleshooting Tips
- Make sure your phone is connected to the 2.4GHz network.
- Maintain the correct distance (8 to 12 inches) while scanning the QR code.
- Avoid reflections or high-contrast backgrounds that can interfere with scanning.
Conclusion
By following these steps, your Symynelec P6 light bulb security camera will be successfully connected to your Wi-Fi network, providing you with easy and effective home monitoring. This wireless security camera fits effortlessly into your home setup, offering enhanced security in a discreet form factor.
Setting up your light bulb camera is simple and only takes a few minutes, making it an ideal addition to your home security system.